
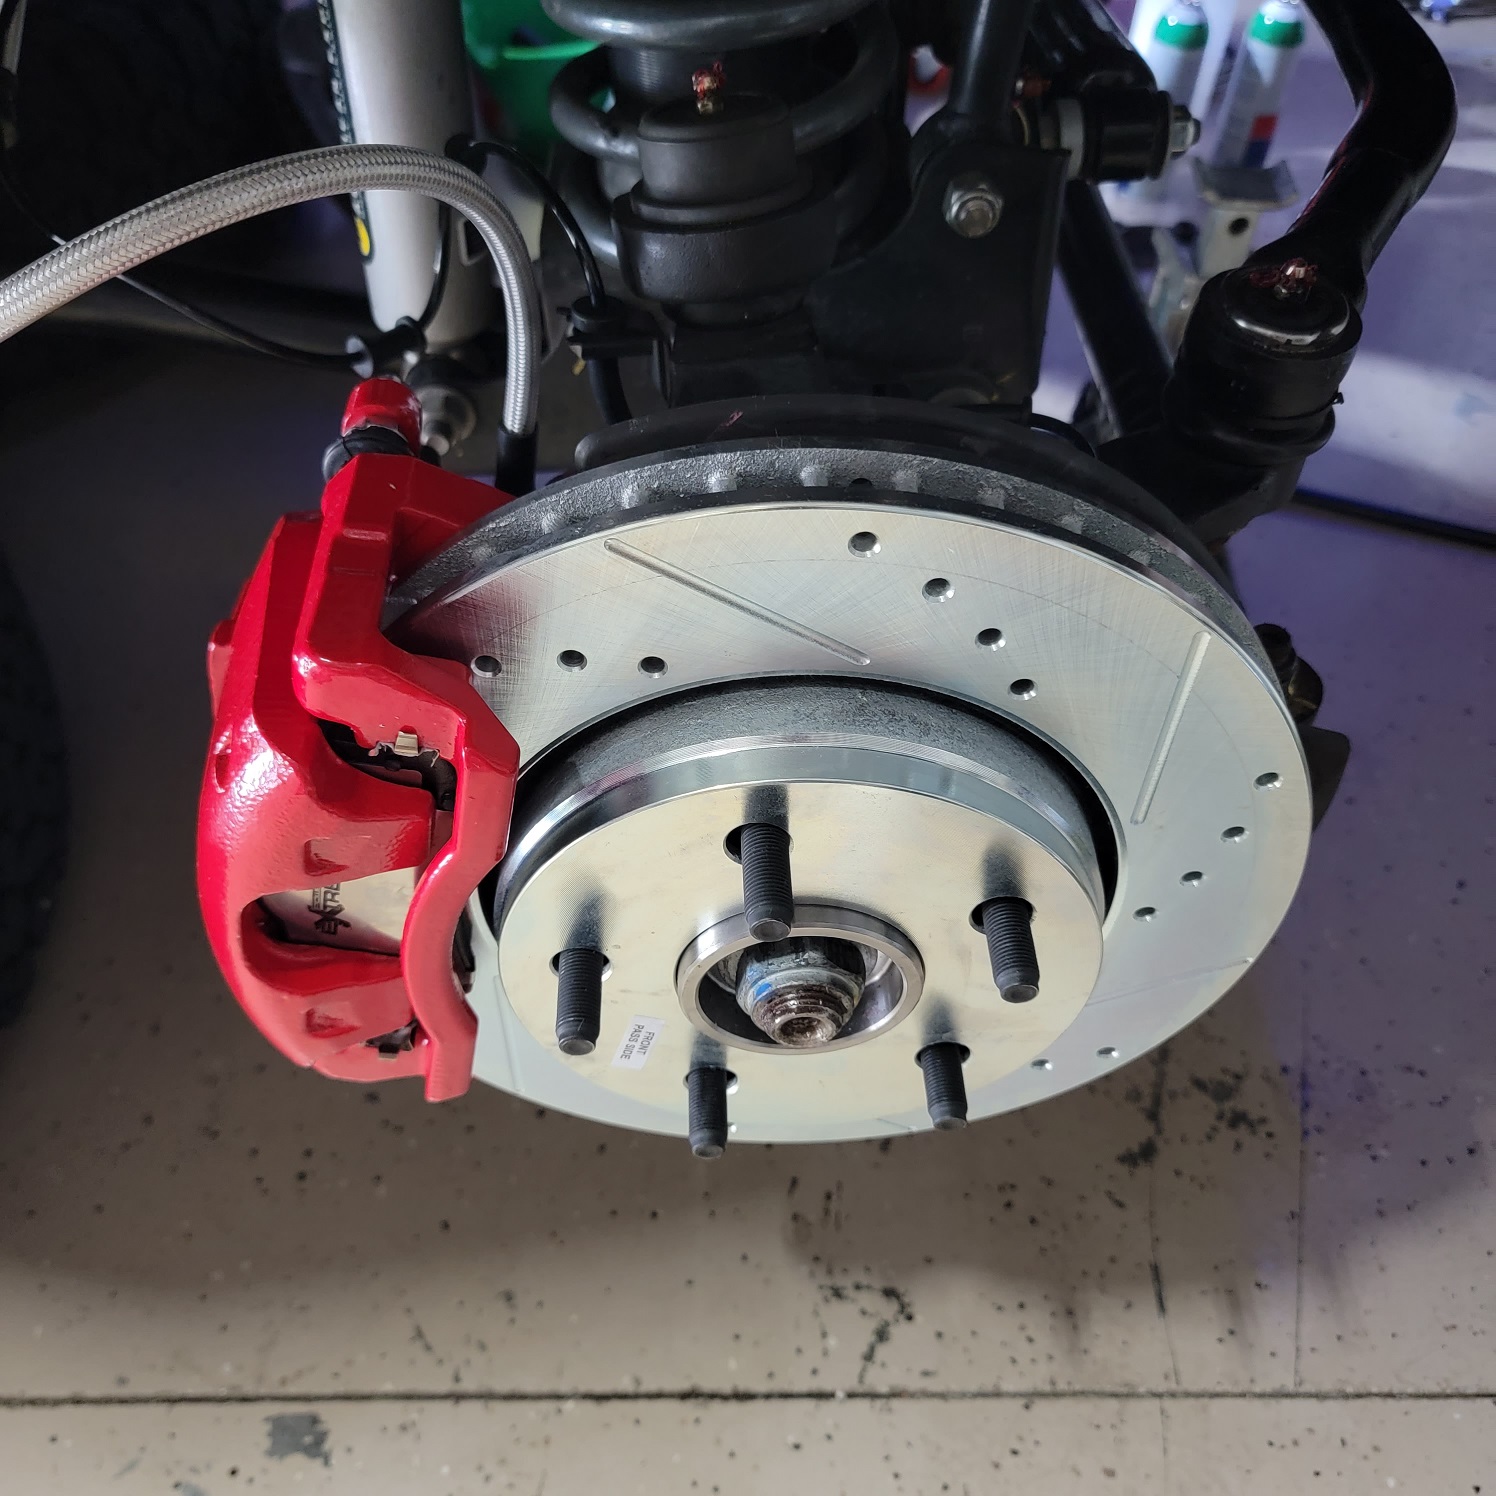
Installed new Power Stop Z36 extreme truck/tow package with front/rear high-end calipers.
Items: PowerStop Z36 Extreme Truck and Tow Brake Roter, Pad and Caliper Kit;Front. PowerStop Z36 Extreme Truck and Tow Brake Rotor and Pad Kit; Rear. PowerStop Performance Rear Brake Calipers; Yellow. RT Stainless Steel Front and Rear Hose Kit 0-6-Inch Lift.
Vendors: ExtremeTerrain
Jeep Torque Wrenches: 4 out of 5.
Bleeding the brakes will be messy and if a one-man job, it will take a bit of time.
My brakes needed to be replaced as I have installed several different sized tires throughout the past 6 yrs. I did have the PowerStop Tow/Truck installed already but using the stock calipers. Extremeterrain had a good deal going on for the front PowerStop Z36 with the heavy-duty calipers, so I went ahead and picked up heavy-duty rear calipers as well. Since the calipers will be upgraded, means you will have to remove the Brake cables to do this job, might as well upgrade those as well.
First thing first, is to remove the tires off the Jeep. I needed to rotate my tires anyways as I just changed the oil, I went ahead and used my 6 TON jack stands and lifted all four tires up. I have a nice compressor and powerful impact wrench, which takes the nuts off pretty quickly without having to use a breaker bar while the tires are on the floor. Once I have all the tires removed, I like to lay them flat under the middle of the Jeep, just in case the jacks give out. I am a nervous nilly and have heard horror stories. Always be safe.
I went ahead and lifted my hood up in order to be ready to add Brake fluid once I am ready for that portion. For now, leave the cap on the Brake fluid reservoir as this will slow the leaking once you start removing the brake cables.
Start with the rear left passenger side (but it doesn’t matter, only matters when it’s time to bleed the brake system). You will need a 21MM, 13MM, 10MM, 12mm wrench and 18mm wrench. I like using 1/2 but you can use a 3/8 socket wrench as well. You will need a torque wrench as well that can go up to 110 Ft. Lbs. I have a 3/8 digital torque wrench from Harbor Freight that’s perfect for the 13MM, smaller jobs and I also have a large manual 1/2 torque wrench for the heavy workloads (caliper bolts, wheel nuts, etc.).


Let’s start with the removing the caliper. Take your 1/2 socket wrench, use a deep socket 21mm to loosen the upper bolt first. Then once that is loosen, go ahead and remove the bottom caliper bolt. I have small magnet trays which are great to keep things organized. Make sure you have a bungee cord or caliper hanger as you will need to keep the caliper hanging (even though we will be replacing these, you do not want stress onto the brake lines). Once you have those off, let’s grab our new caliper and brake cable.
Add the special grease supplied in the brake kit, add it to the moving areas on the brake pad but make sure not to get any of that mysterious grease onto the face of the pads! Make sure you insert the small clips on the top and bottom of the pad it self which will then slide into position. This is sometimes a pain but if you have the clips properly facing correctly, it should slide in with not that much pressure. Do this for all of the remaining tires, same process. Once all set, check all of your cables, pads, make sure all bolts are torqued to spec. Move onto the bleeding process. There are plenty of videos out there, choose your method.
Super important to follow the break in procedures that were supplied with the brake kit. All kits will have these instructions. Follow the break in procedures perfectly!