
Installed a Mishimoto V2 radiator along with the Oil catch can.
Item: Mishimoto V2 Radiator & Mishimoto Baffled Oil Catch Can & Mishimoto Silicone Radiator Kit & Mishimoto Thermostat 180
Vendor: Extremeterrain.com and Mishimoto.com
Jeep Torque Wrenches: 3 out of 5 wrenches.
The issue with Jeep JKs is overheating at times. It was one of the items I wanted to tackle since it was all I was reading about out there on Jeep blogs. I researched every type of Jeep after market radiator searching for the best. I first installed an AFE Bladerunner GT which had a hefty price tag, after finishing the install, you would think a price tag this high, the quality should be top notch. That was not the case, had a pretty bad leak along one of the solder joints. Returned it.
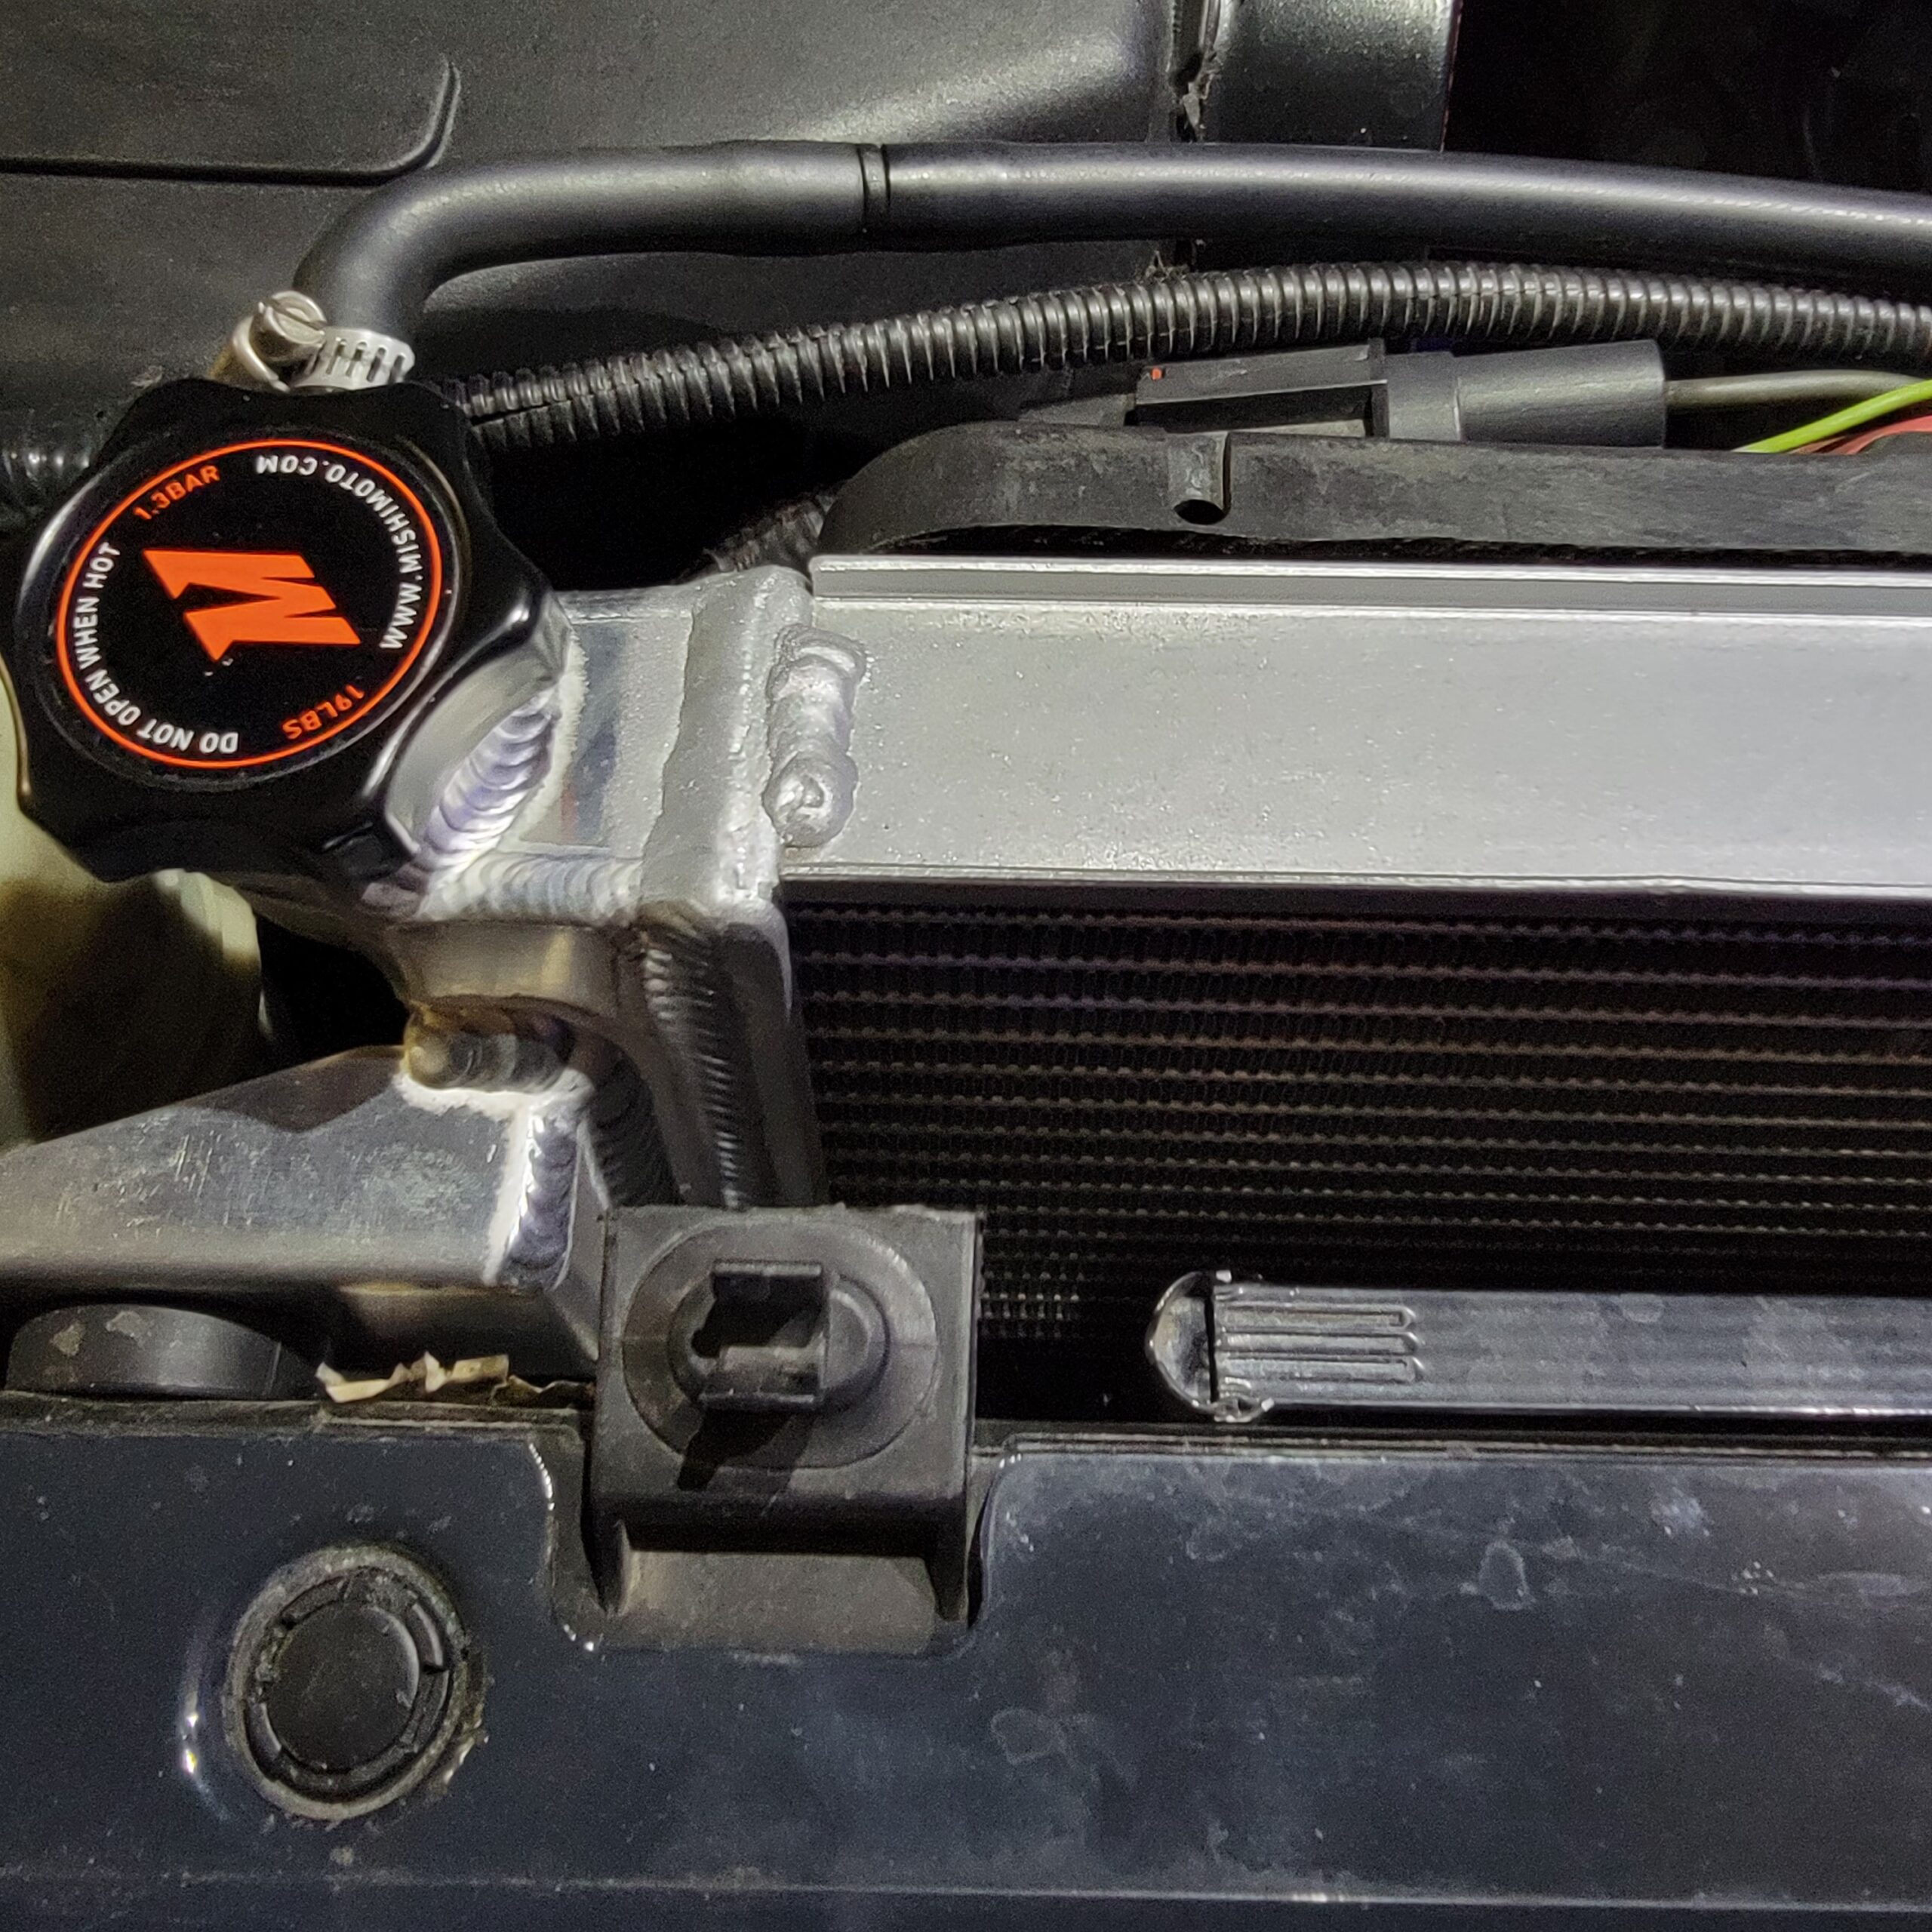
Next came the Mishimoto brand. I ordered a V1 version at the time, installed the unit and guess what he had a leak as well in the solder joints. Seems they were manufactured at the same overseas factory. After reaching out to Mishimoto, I received a V2 model, and this so far has been great and working well. I also took this time to install a Mishimoto 180 thermostat, this helped a lot as my unit would like to hit 221 before the stock thermostat would open. My temp at normal 53mph driving speed is a nice 194 on an 80-degree SWFL day.
Back to install the radiator. Make sure the Jeep is cooled down! DO NOT open the radiator cap if the engine was just used. First start with removing the front grill, this is pretty simple to do, remove the push tabs from the top side with the appropriate tool. Once the front grill is removed, remove the radiator cap. Locate the drain valve passenger side at the bottom of the radiator. Make sure you have a nice fluid catcher under the valve. Drain the fluid out. While that is draining, start to loosen the clamps around the upper and lower radiator hoses. Once the draining is set, move the catcher under the lower hose and remove it, some fluid will come out. Do the same for the upper hose.
Remove the top nuts that hold the overflow hose on the fan shroud. Go ahead and remove the overflow tank, it just slides right up. Remove the two main bolts located on the driver and passenger side, upper radiator area. Once those bolts which also have the rubber washers are removed, remove the fan shroud, don’t forget to disconnect the wire for the fan. Now its time to lift the radiator right up and out.
Time to pull the new fan out of its packaging. Make sure there are no holes in the radiator or bad welds, etc. Take pictures of all sides and welds. I like to take bolts with plumbing tape around the bolt and screw them into the extra holes the radiator has. You will see what I mean if you go with the Mishimoto V2. Make sure to plumber tape the valve at the bottom of the Mishimoto and tighten. Slowly drop the radiator into place, the bottom of the radiator will site into the slots on the frame in the Jeep. Screw the top bolts back into place, take your time aligning it and make sure the large rubber washers are in place as well. Reconnect the hoses, I took this time to install the Mishimoto Silicone hoses. Once all is reconnected, time to add the fluid. I ordered the exact 50/50 mix from Mopar. You can get this on Amazon. I ordered a radiator coolant kit a while back, this allows you to properly air out the radiator. This is a process but well worth it to take all the air bubbles out. I suggest you do this process, plenty of other videos out there but this one is right to the point. BEST way to remove airlock in radiator (remove air bubbles) – YouTube


