
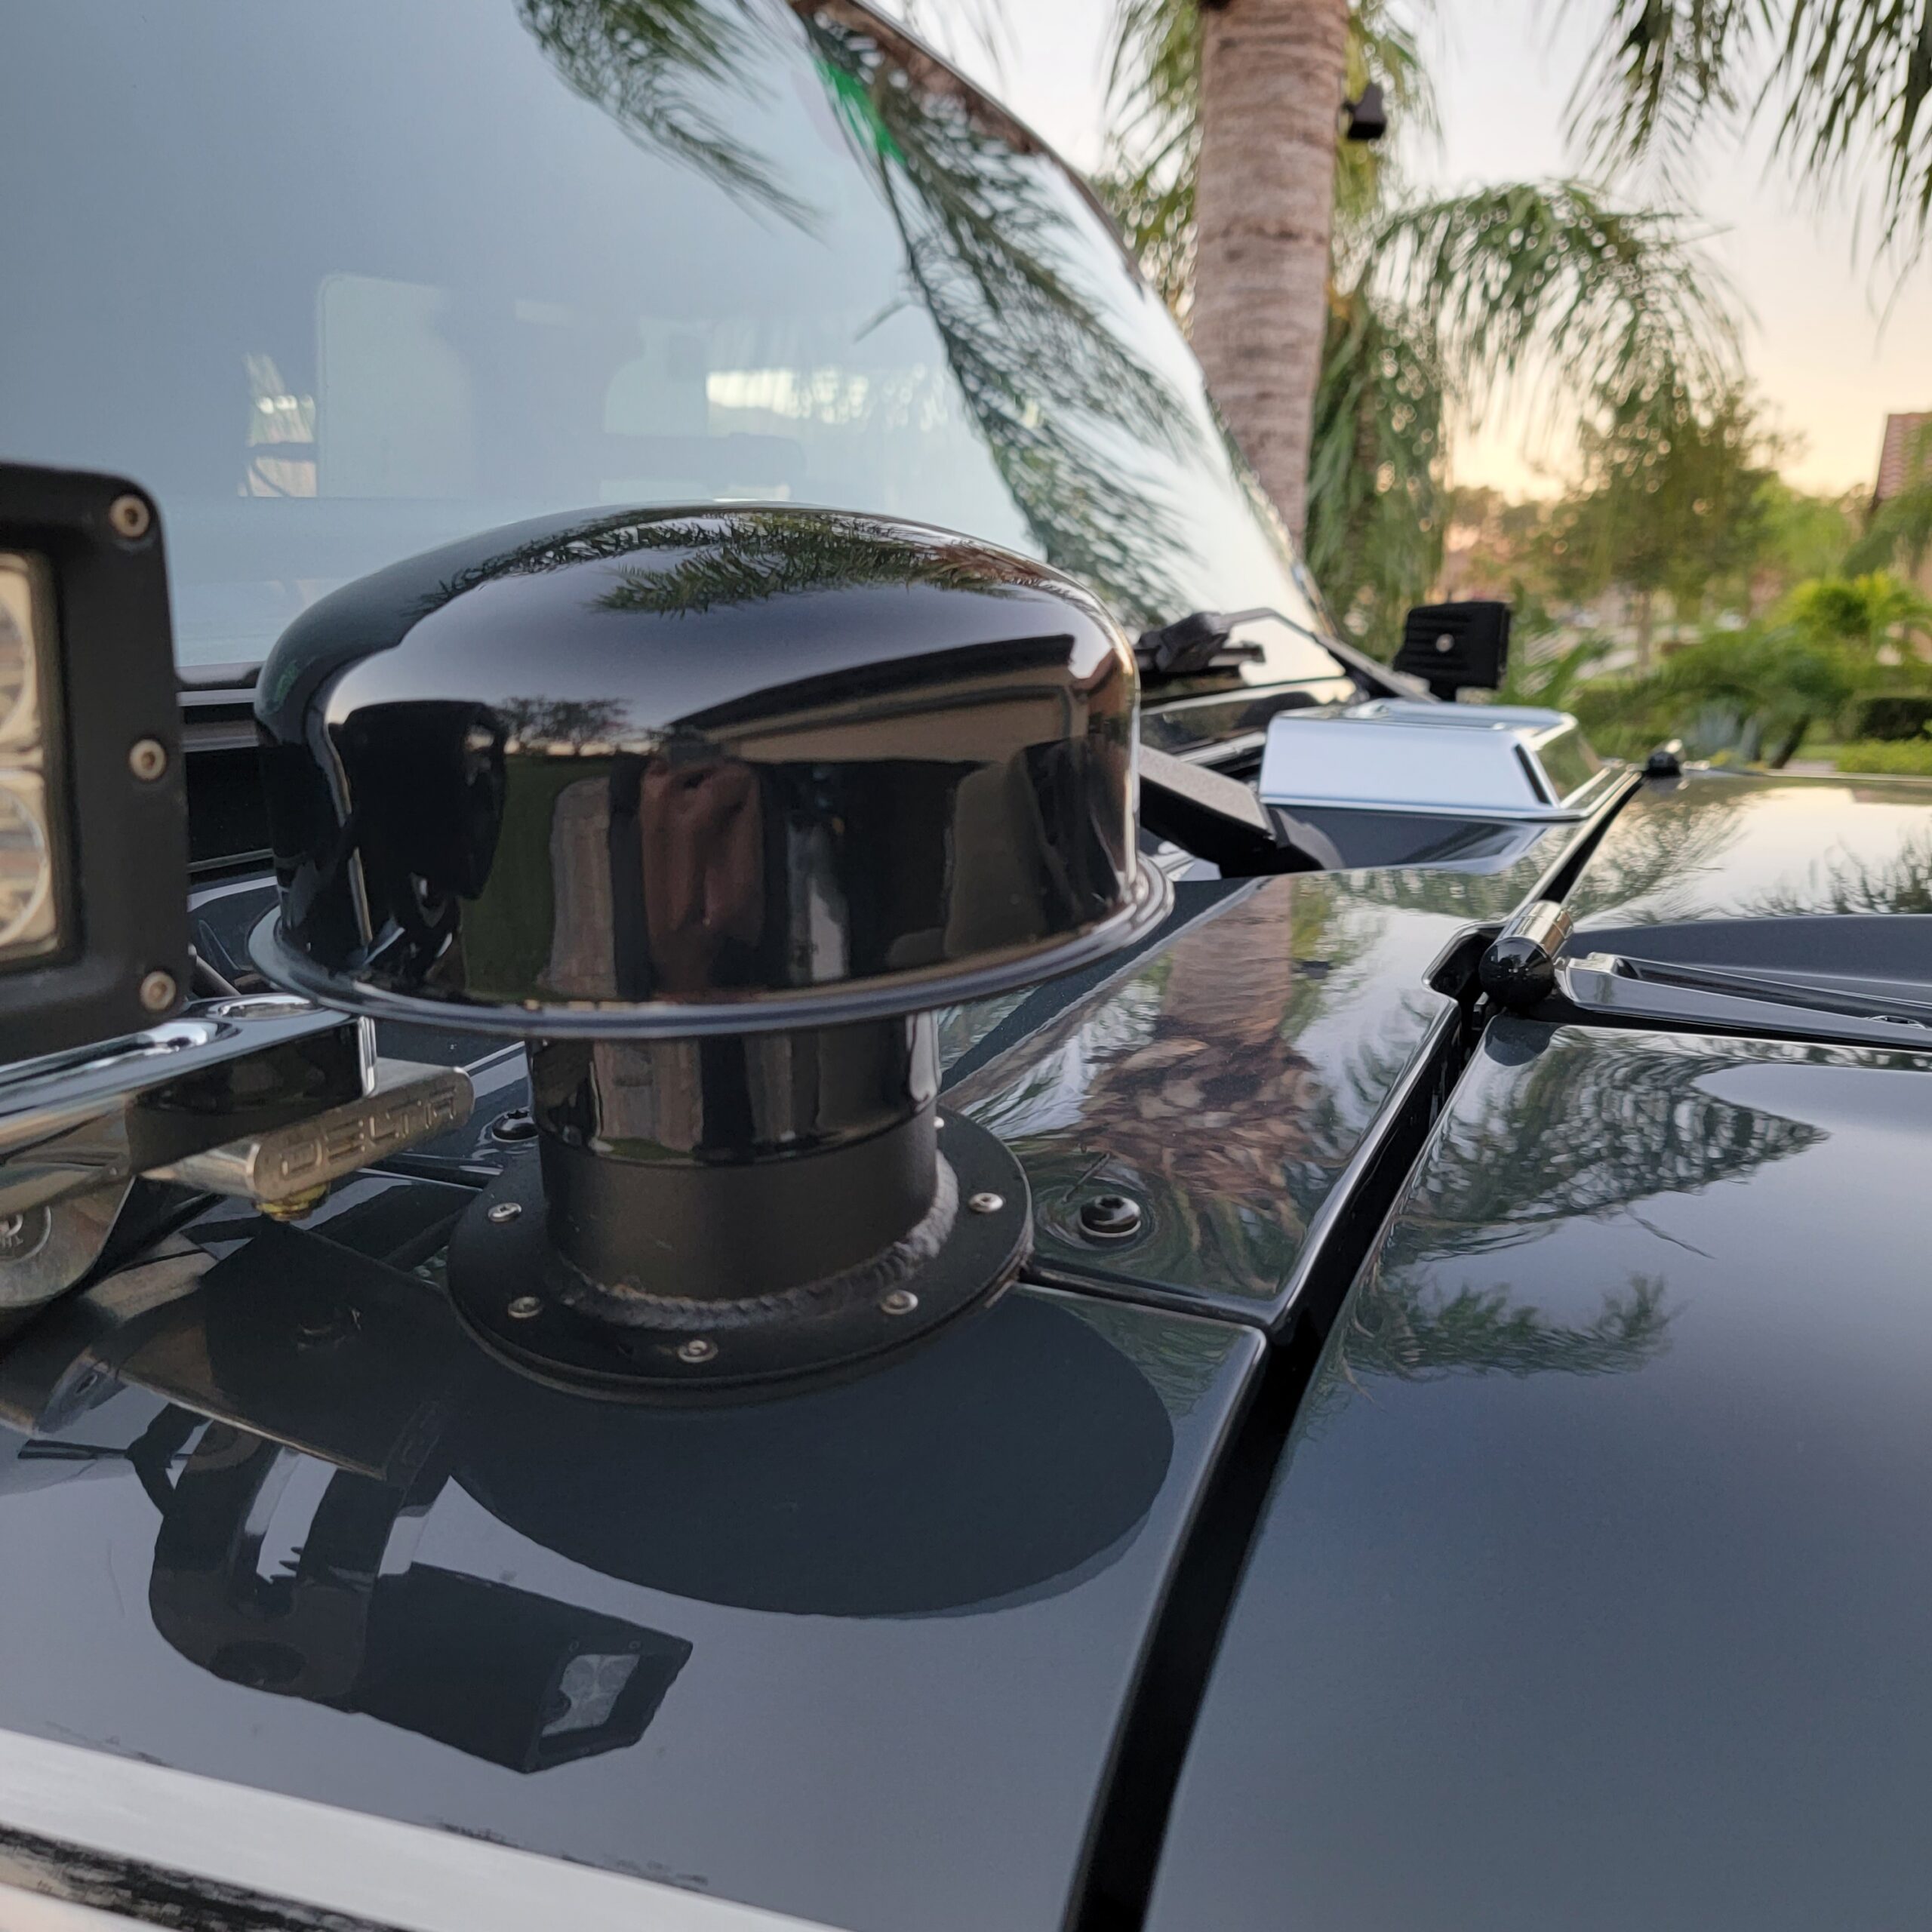
Installed the River Raid Snorkel as I wanted something not to obvious like a large size plastic snorkel running up the side of the Jeep.
Item: River Raid Snorkel
Hauk Off-Road
Jeep Torque Wrenches: 5 out of 5.
I wanted to find something that wasn’t fully made of plastic and didn’t run along the whole passenger side of my Jeep. I always loved the classic mushroom cap Hummer style snorkel. I searched looking for the perfect one. I knew whatever I would find, for sure I will have to drill into the firewall and somewhere on the cowl.
Finally, I located the perfect one, River Raid made by Hauk Off Road. They are located out of Pennsylvania, USA (made in the good ole US) which I appreciate a lot. Hauk offers great products outside of the snorkel kits. I went ahead and downloaded their instruction manual to get familiar with the install. I knew it would require a 3″ – 4″ hole into the firewall. I went ahead and picked up the correct sizes and now awaiting the arrival of the parts.
The items finally arrived and ready for the install.
Kit arrived fully wrapped tight and no scratches or any scuffs. The Hauk team has some great welders & fabricators, items were great. Coated nicely as well. All bolts, nuts, etc. were all nicely packed.
I went ahead and placed my hood all the way back against my windshield. Started to remove the battery terminals and battery tray. There are two bolts holding the battery, loosen and remove. Once lose you can pull the battery out. Once you have that out, you can now remove the battery tray. Get the template located on the last page of the instructional manual. Cut this out using a scissor or hobby knife which is what I like to use. Once the template is good, set it aside. The firewall needs to be prepped, you will have to peel back the cloth material against the firewall, if you are looking from the front of the Jeep, it’s the upper left corner of the firewall that needs to be pulled down and the firewall exposed. Take the cutout template and make sure it fits nicely. There should be a metal template that came with the unit. Now place that in the same area you just cleaned and prepped. You will need to get a rivet gun and temporarily rivet in place the metal template which will be your guide for cutting through the firewall. This is not for the faint of heart, once you start to drill a 4 1/4″ hole into the firewall, there is no turning back at that point. Take a deep breath, place some oil onto the drill, the teeth are a bit big so set the drill to the highest power setting and slowly start to spin around the template. Be careful as the drill will want to bounce out of the template, keep a nice steady spin going but not too fast, not to slow. Once it starts to grab then bring the speed on and push it through. It will be about 3/4 of an inch you will burrow through. Once you break through. Take a filer and smooth out the rough edges. Take the River Raid firewall insert and make sure the large sized elbow shaped unit fits through your new hole. Once all is good, go ahead and spray the exposed metal with matching paint or black. Let that dry a bit, then take the insert and place some gasket glue (black) onto the back of the insert (against the firewall) and get it nice and snug in place. Grab your drill and drill the necessary holes through the template. Then take your rivet gun and permanently rivet the insert into the firewall. First hard part is now completed.
Time to drill the same size hole into your passenger side cowl and main cowl. This part is a bit tricky as you need to be careful not to damage the cowl as its thin. I put painters’ tape around the area I am cutting through and applied the same process as in the earlier steps but in this case, you have to drills low the quick and it will cut through it nicely. Remove your tape, clean the edges and paint the exposed metal. Insert the mushroom cap insert into place and apply the gasket glue, then rivet it into place. This will not be easy so take your time and press down hard on the driver side and rivet that side first!
Inside the engine area, by the battery you will have to remove and relocate a sensor that is on the fender. Follow the River Raid instructions they are pretty good but make sure you have some mechanical skills as the cutting, riveting is not a 1, 2, 3 easy. Route the new house into the original airbox. This airbox in the earlier steps of the River Raid manual, you have to cap off the original inlet from the throttle body with a cap and gasket glue, then gasket glue any holes. You will have to then drill a new 3 ” inch hole into the side of the original Jeep airbox. Then grab the provided hose adapter and slide it over the new hole. Gasket glue all of these items to make it seal tight. Connect the hoses up.


