
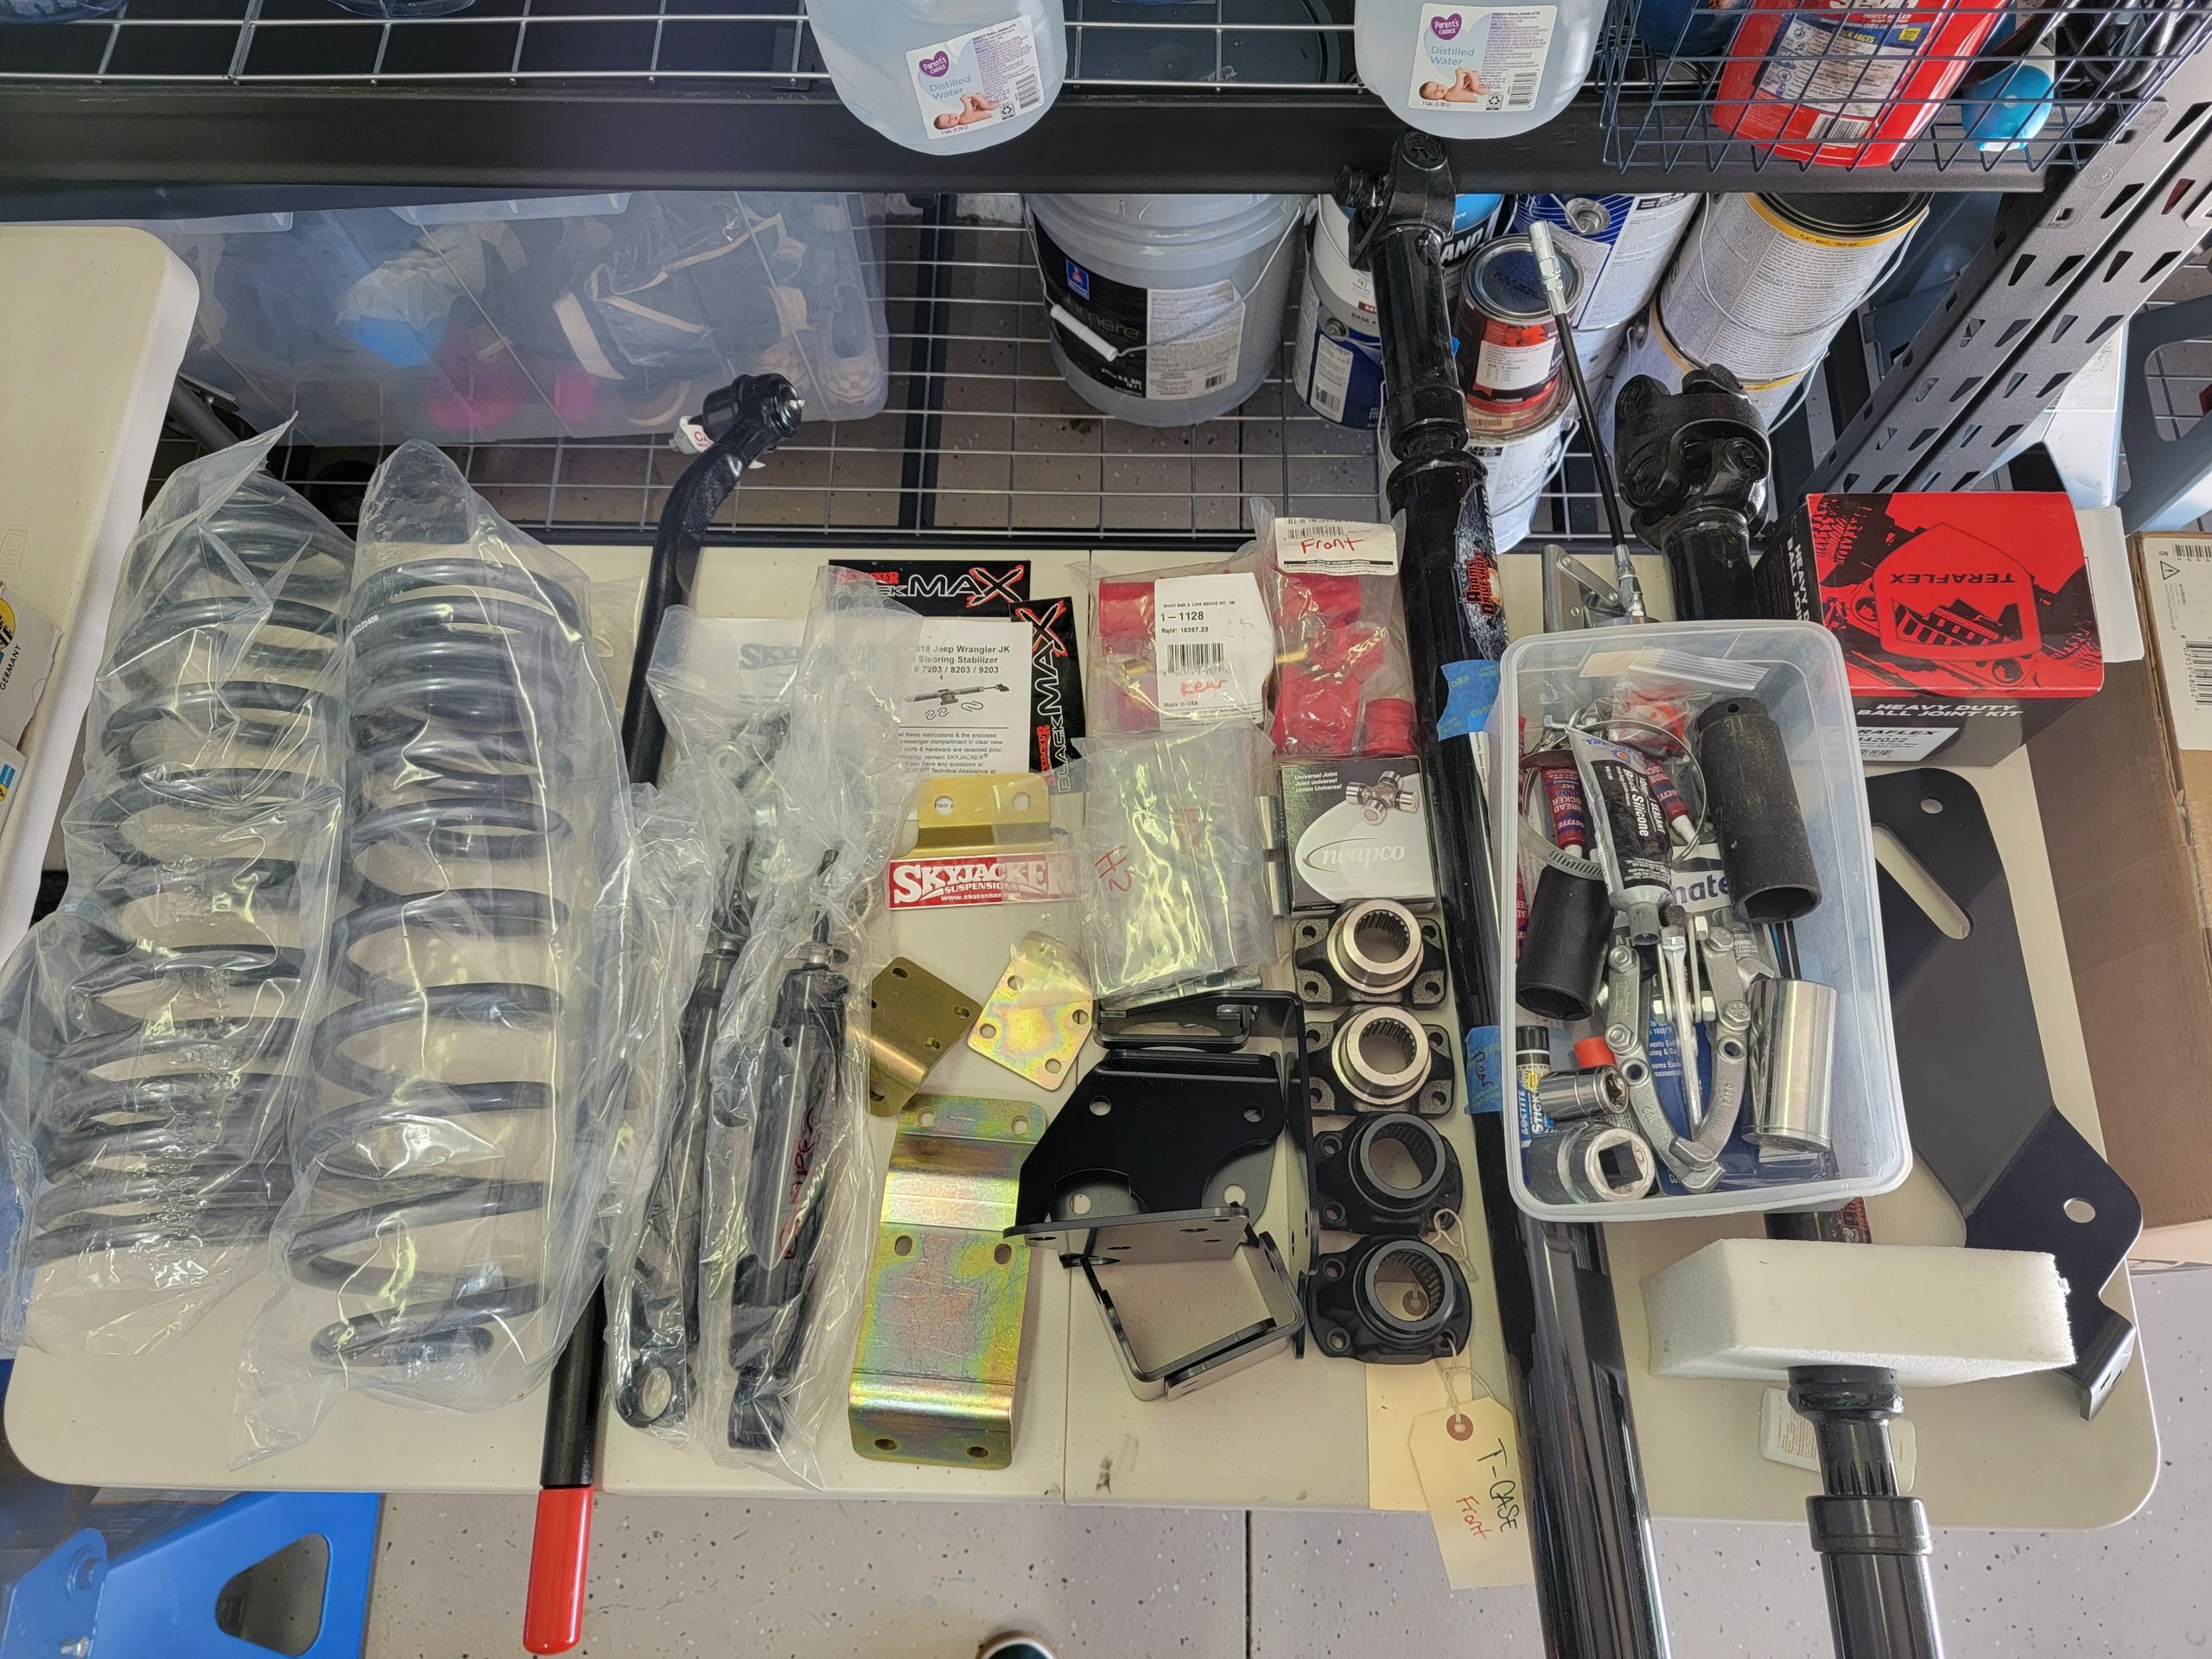
Installed a new AEV 4.5 DualSport SC Lift Kit, with high steer and Bilstein Shocks.
Manufacturer: AEV
Vendors: Extremeterrain.com, Quadratec.com, 4wheelparts.com
Jeep Torque Wrenches: 5 out of 5.
This is not for the faint of heart. You will need a good week if you are doing this alone and have a full-time job. I suggest you make sure you have all the tools required as well as the correct 6-ton or higher jack stands. I picked up a nice 12-ton heavy duty jacks from Amazon. Make sure you plan ahead with those items and check your tools make sure you have all you need before going down this adventure! When using the jack stands, use the 12-ton as the main ones (they have a higher height) and a farm jack to lift the frame of the jeep as high as the 12-ton can go to (not very last click but one prior). This will simulate having the Jeep on a lift. Once you have that nice height, use 6-ton jacks as failsafe (in case the 12-ton give out). Now you are ready to rock-n-roll.
Use a nice floor jack as your front and rear end drop jack. The first time I installed the Teraflex 2″ spacer lift which all it really was, a four spacer looking “hockey pucks” that go above each stock spring. When I did this first adventure, I used a set of 4 6-ton jacks which didn’t give me the height I needed when it was time to remove the springs. I ended up using spring compressors, which can be dangerous and time consuming. For this lift, I prepared a bit better and when it was time to drop the rear first and pop the springs out, the stock ones fell right out! I was then able to drop the end further to easily slip in the additional 4.5 (really 4.7) inches of new spring. Took the time to also replace the stock spring rubber guards with new ones (sit right in-between the top of the spring and the frame where it houses into, looks like a rubber funnel when its out). Make sure you have a nice tool to pull those rubber guards out. Use a fork tool. Front was basically the same as well but obliviously a bit more advanced than the back. Rear is always the easiest with these lift kits. I replaced my break lines as well, you do not need to do this step but I would.
Ball Joints...
I also took advantage and decided to install new ball joints, which I highly recommend. I also picked up a ball joint removal tool set specific to Jeep JK as it is angled for the ball joint. You will need to remove the passenger spring first before you are able to pull the upper ball joint. Spray a lot of wd-40 wait a bit. Use a combination of socket wrench on the ball joint removal tool (1/2). Hit it with a small sledgehammer every few turns on until it breaks/pops free. Will be the best feeling when it does! On reinserting the new Teraflex ball joints, DO NOT place them incorrectly, take your time making sure you are seeding them properly. I was very impressed with how the jeep handled after the ball joints were in. Big difference and I couldn’t believe how loose the bottom stock ball joints were! That is your “Jeep Death Wobble”. I will post about that install as well. Teraflex Ball Joints


Front JKS disconnect links were added later on and not included in the galleria. Will post to this page shortly.